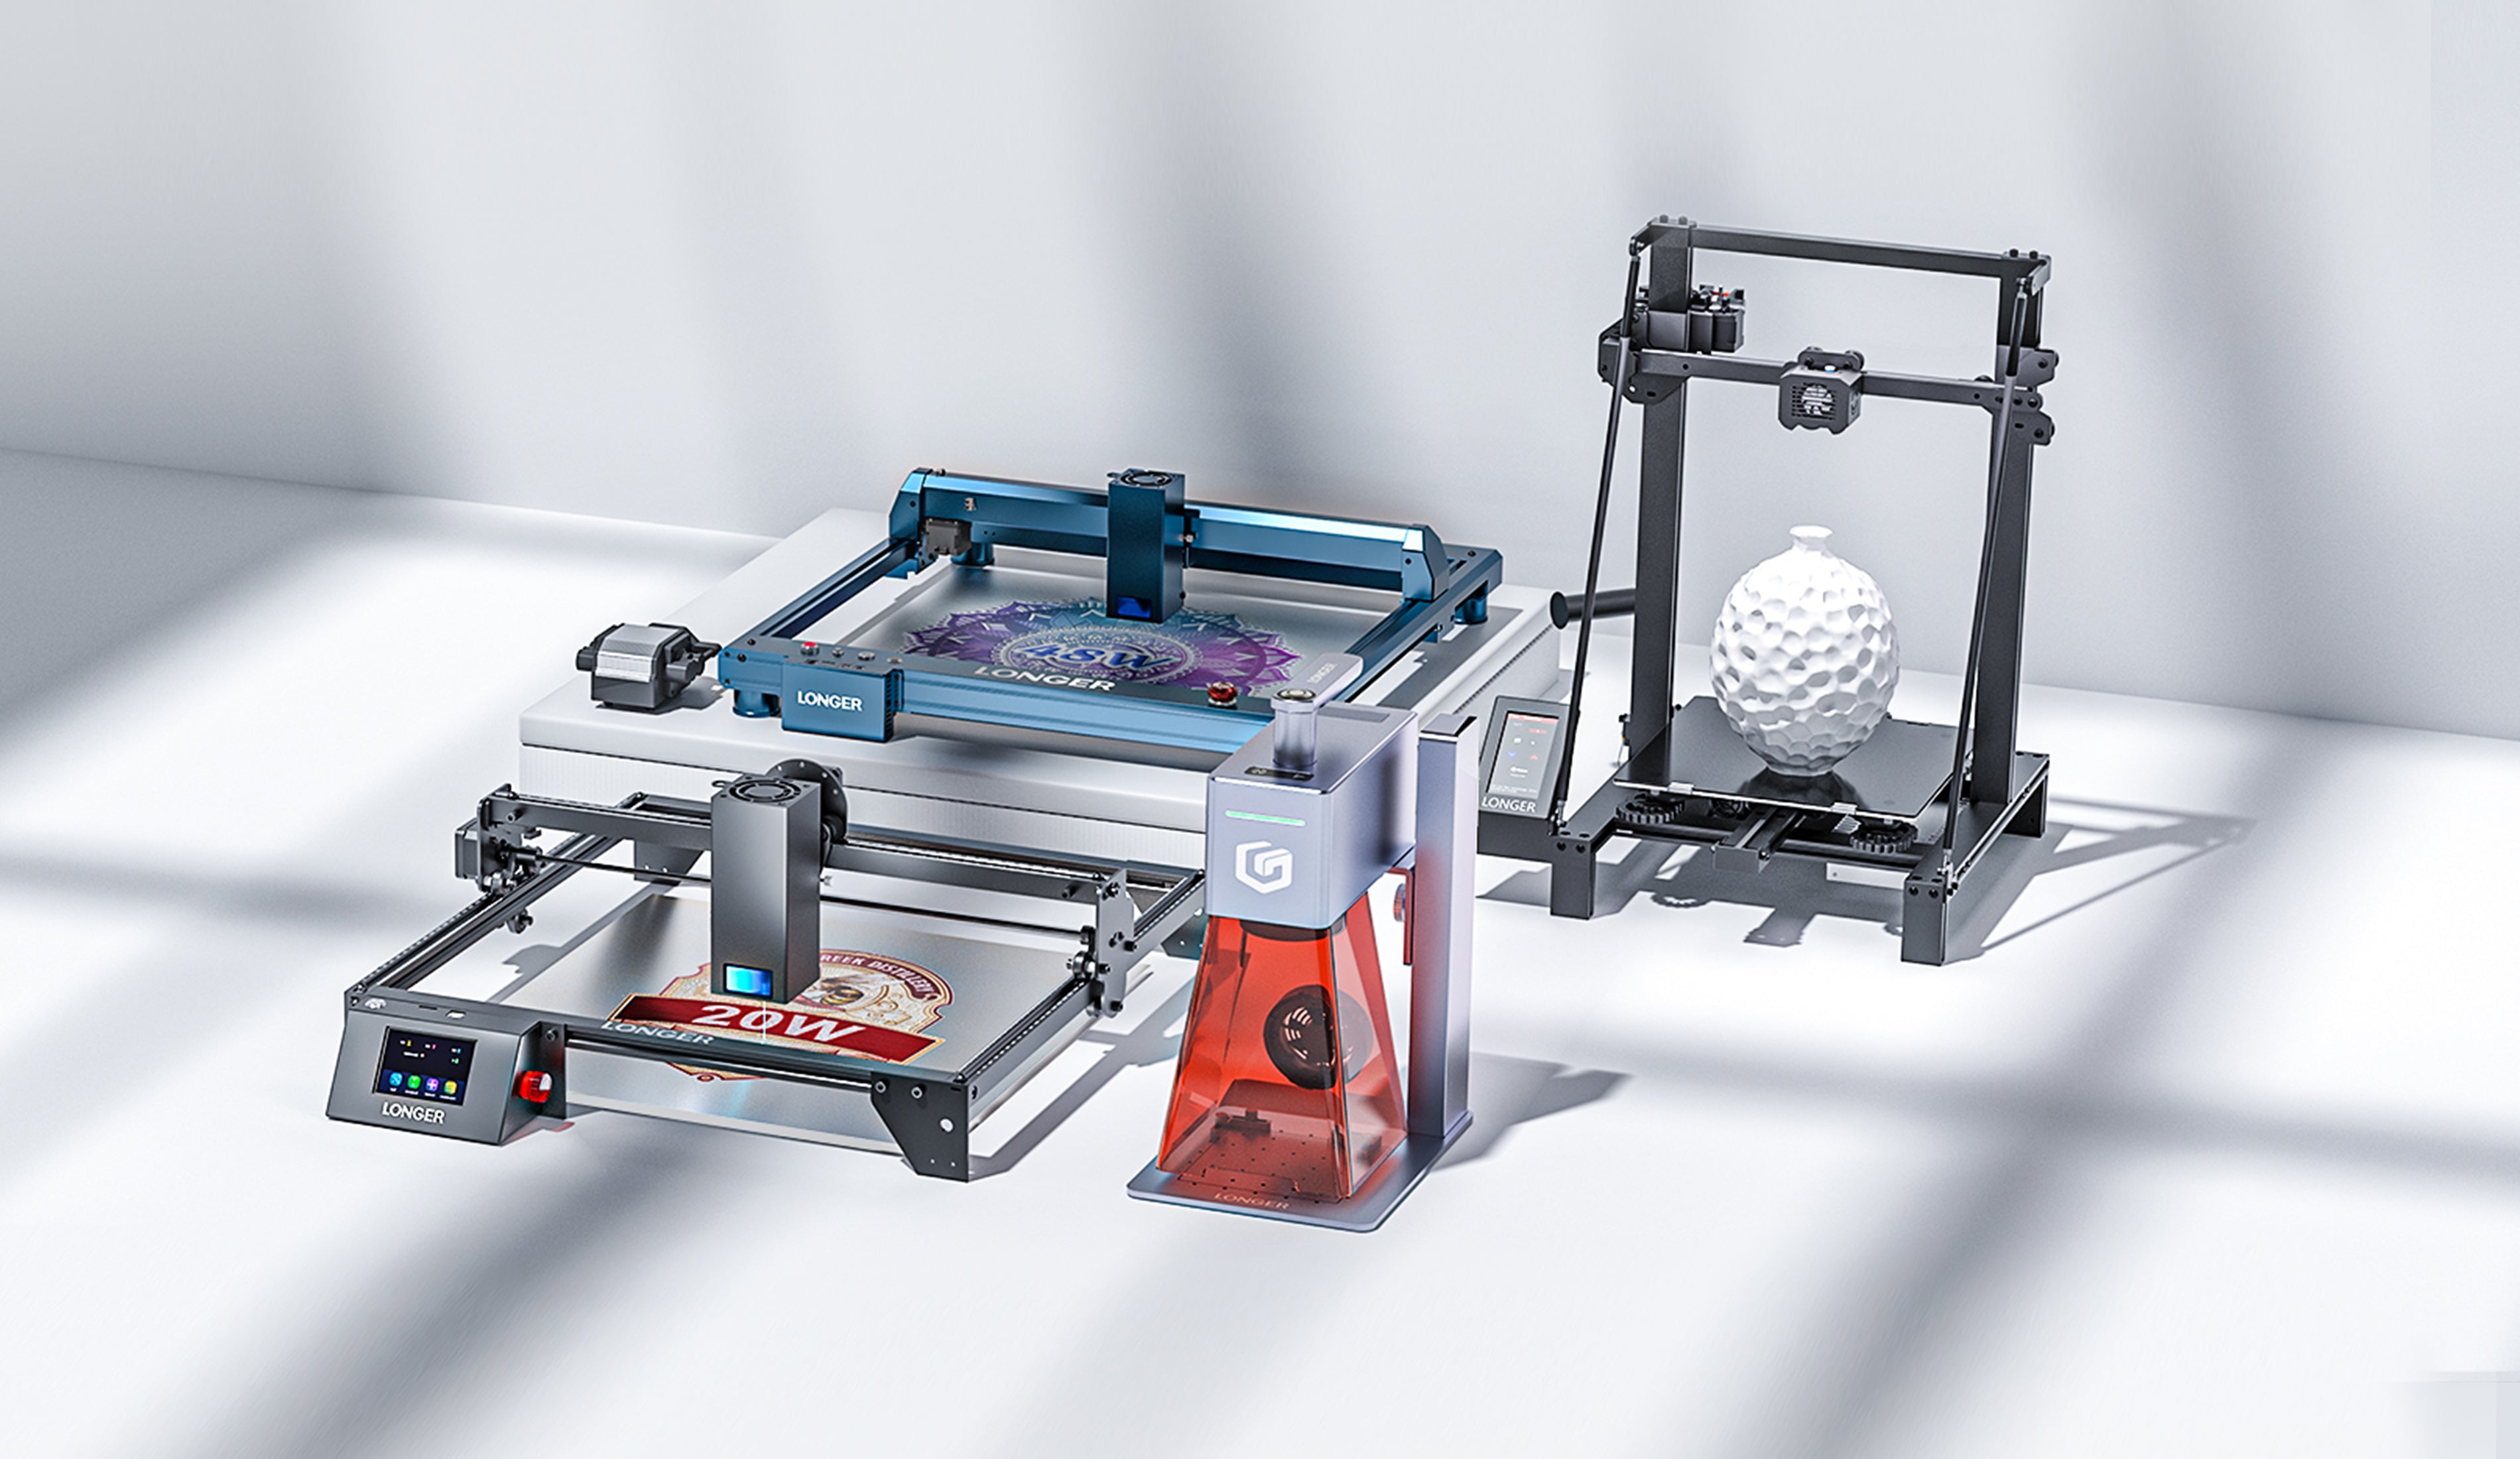
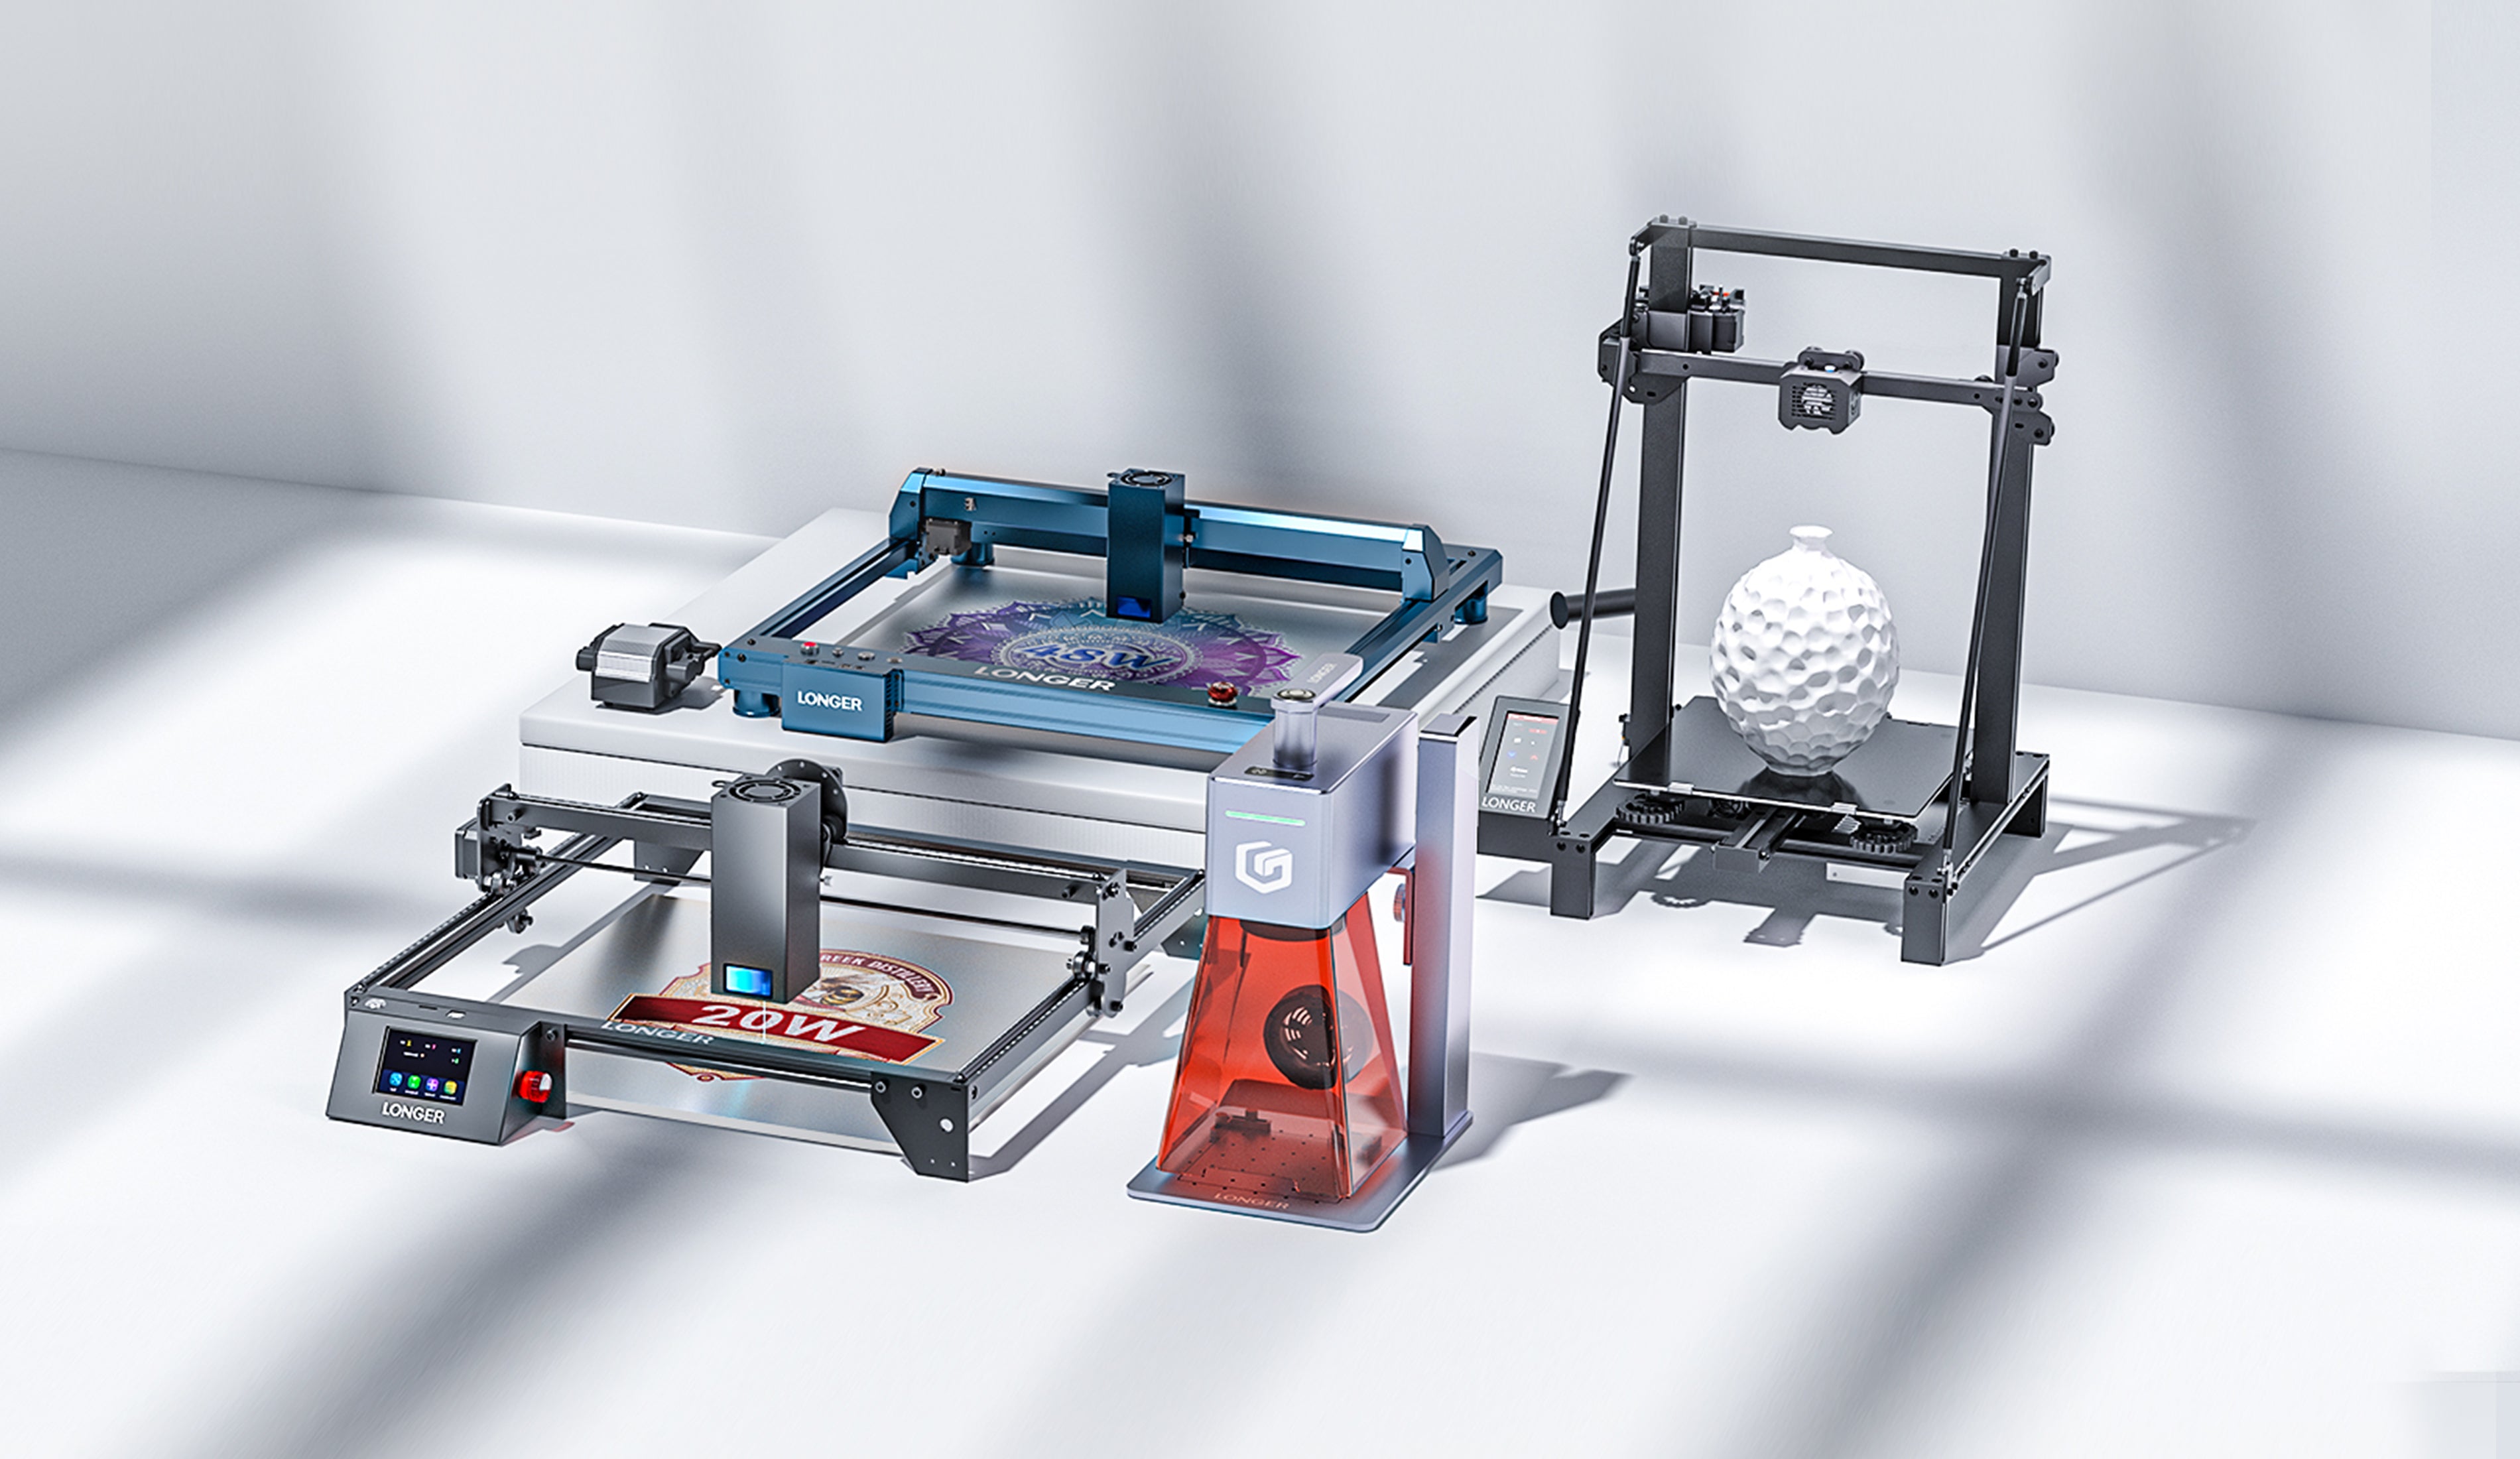
A Pen Plotter is a Drawing Machine that is positioned between a 3D printer and a Laser Engraver, since it has characteristics of both of them. In fact, it uses a three-axis Cartesian XYZ system (like a 3D printer) to make 2D images (like a Laser Engraver) using a pen. In simple words, this machine allows you to draw as you do by hand, but with the precision and handwriting of a computer.
This guide allows you to make a Pen Plotter using any Longer FDM 3D printer as a base. The change does not alter printing capabilities but is an added feature. Note that this guide is not compatible with printers equipped with BL-TOUCH leveling sensors.

Preparation of the machine
-
Download and print this pen holder:
https://drive.google.com/file/d/1gwQJZo7U1t-0NzUbUzdNdexHfIp1fW4g/view?usp=sharing
-
Screwdown the two screws placed to the left of the head module and the pen support (the dual blower module already provides two holes where to install the pen support)

-
Proceed to normal leveling of the printer, using the sheet of paper to level the nozzle and the glass of the hotbed
-
After leveling the print bed, remove the glass and replace it with a sheet of paper; Since the sheet of paper is thinner than the glass, the nozzle will be very far from the sheet of paper, but this is normal
-
Insert a pen inside the pen holder; the pen must be in contact with the sheet of paper, the tip of the pen must touch the paper to be able to write, then secure the pen using a screw through the support

-
Using a test sheet, test whether moving the x-axis can write to all points on the sheet
-
To prevent the filament sensor from reporting an error, insert a piece of filament through the filament sensor; also, disconnect the extruder motor E cable

Preparation of the Cura software
-
From the Cura menu, add a new printer that matches your printer model (if LK4PRO add LK4PRO, if LK5PRO add LK5PRO, etc.), and rename the new printer as "Drawing Machine"

-
Replace the Start G-code with this new Start G-code:
; LONGER Start G-code
G21 ; metric values
G90 ; absolute positioning
M82 ; Set Extruder to Absolute Mode
M107 ; start with the fan off
G92 E0 ; Reset Extruder
G28 ; Home all axes
G1 Z2.0 F3000 ; Move Z Axis up little to prevent scratching of Heat Bed

-
Download and import into Cura this print profile "plotter.curaprofile" for "Drawing Machine". The imported profile allows the printer to work without heating hotend/hotbed and without extruding filament:
https://drive.google.com/file/d/1cxeTZ1QrjHt8bsGC8TLVEHthtU_jNLkI/view?usp=sharing

Preparation of the Drawing File
-
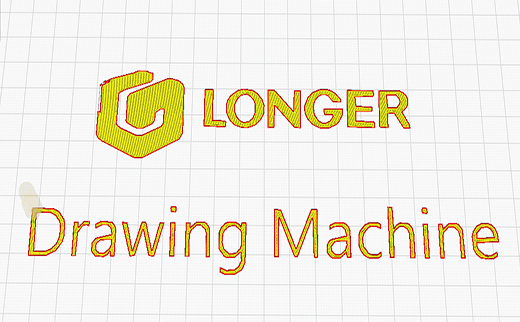
After choosing a 2D image without background (like this one above in the figure), open the "3D Builder" software preinstalled in Windows 10 (if it was not present, download it from the Windows Store). Then select "Open – Load image" to import the selected image.

-
Once the image has been imported into 3D Builder, you can change some settings such as Levels, Smooth, and so on; using these settings, edit the file according to your preferences. Once the editing is complete, select Import Image to get the image converted to 3D file.

-
At this point, assign to the 3D model aheight "Z" of 0.1 mm; in fact, a drawing can be considered as a 3D model composed of a single layer, therefore assigning a thickness of 0.1 mm then the printer finishes the work after the first layer
-
When the 3D model is ready, proceed to export, selecting "Save as - . STL".
Drawing printing procedure
-
Import the previously created "3D" drawing into Cura
-
At this point, the design can be made either full or with only the outline a.To make a full drawing, make sure "Top/Bottom Thickness" is set to "1"

b.To create a blank drawing, with edges only, make sure "Top/Bottom Thickness" is set to "0"

-
Export the Gcode, proceed to print, and here is the final result

-
Download here some sample model, enjoy your new Longer Drawing Machine!
https://drive.google.com/file/d/1K4Adp4pt1v9ypqZ2ytmCrK679k0XrAsy/view?usp=sharing
https://www.longer3d.com/products/lk5-pro-fdm-3d-printer


