


Longer Nano Duo
Engrave Like a Master
About Us
With Longer, Make It better


Printing Flow Calibration

In 3D printing, extrusion flow is a key aspect to consider if you want to obtain not only quality prints, but also dimensionally correct prints.
The flow is closely related to the speed of rotation of the gear wheel attached to the extrusion motor; the faster it rotates in a certain time interval, the more filament will be extruded during that interval. For this reason it is necessary to set the correct amount of flow, corresponding to the exact amount of molten material needed to correctly compose the printed object.
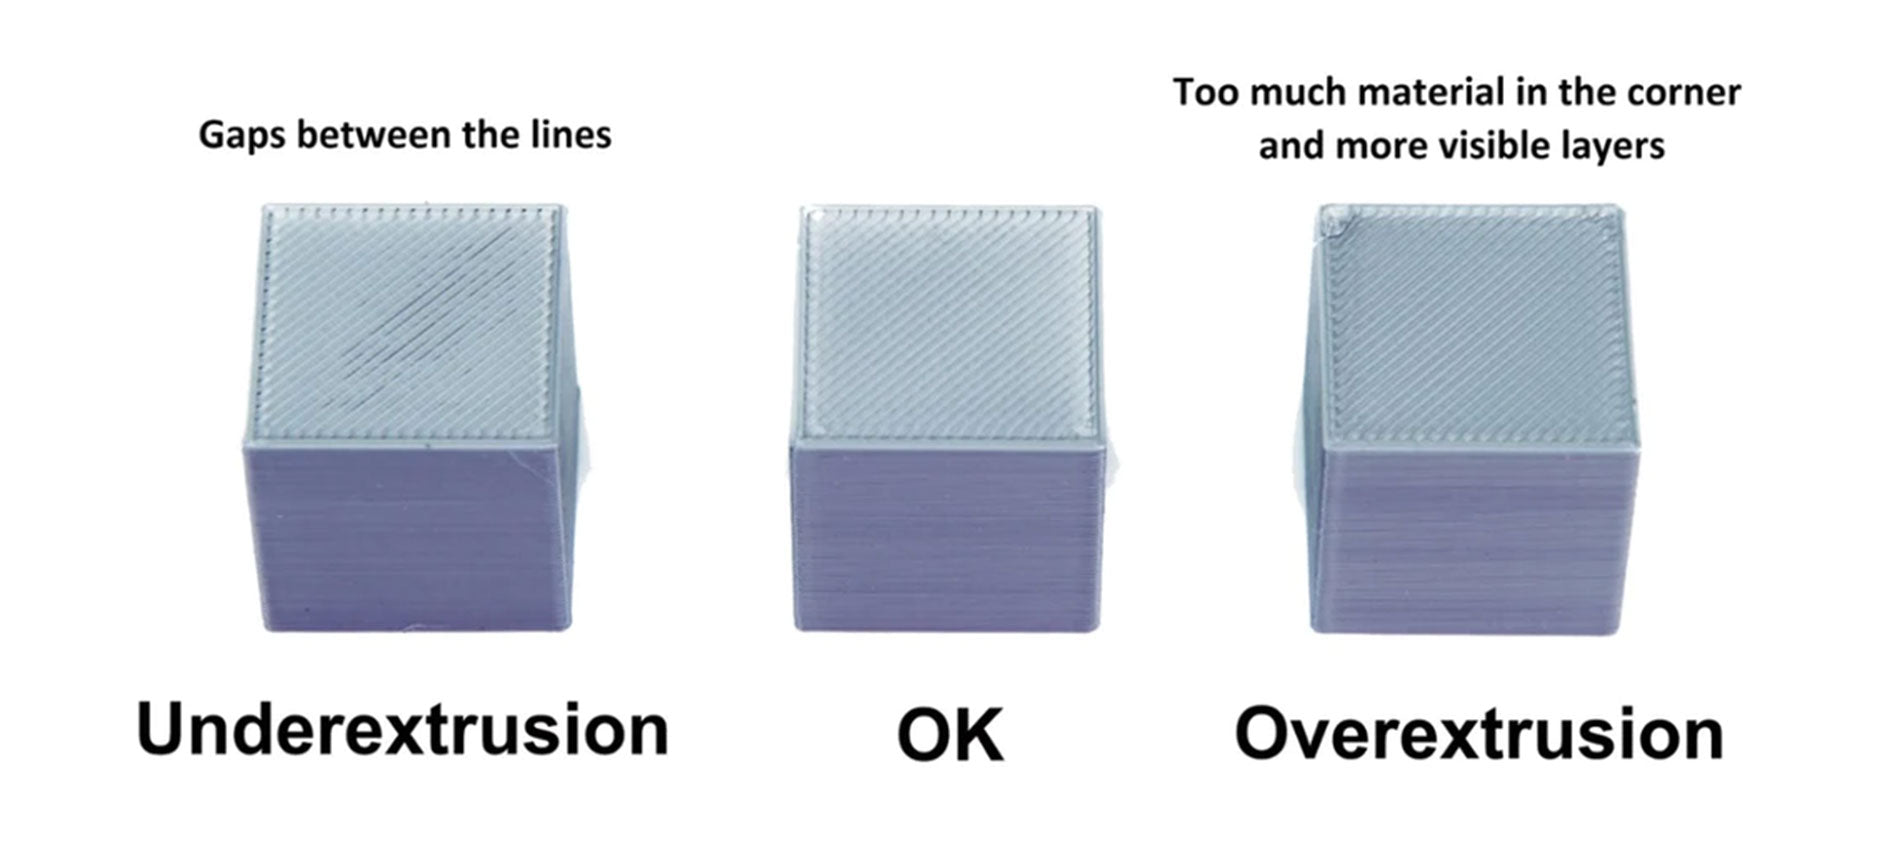
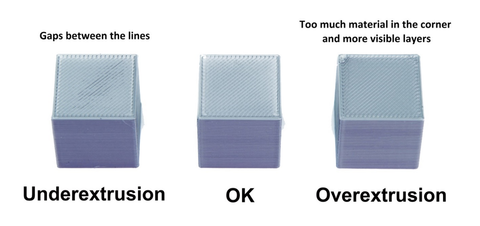
Depending on the amount of flow per unit of time, 3 scenarios can occur:
- Underextrusion(too low flow), which occurs when little material is extruded and has prints with small gaps that appear between two layers or between two perimeter lines
- Extrusion(correct flow), which when the right amount of material is extruded and has prints free of external defects
- Overextrusion(too high flow), which occurs when too much material is extruded and features blobs prints on the outer walls and accumulation of unnecessary material on the upper layers
If the prints are affected by underextrusion, then it will be necessary to increase the print flow; instead, in case of overextrusion it will be necessary to decrease the print flow. In order to determine the exact amount of decrease/increase in flow, empirical tests can be failed to provide accurate reference data.
Starting from the premise that a underextrusion produces prints smaller than expected while an overextrusion produces prints larger than expected, in order to empirically verify the amount of flow we proceed as follows:
- Download the following calibration cube.stl:
https://thingiverse.com/thing:5118535
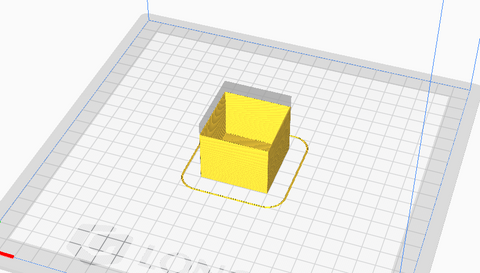
- Import the cube.stl into Cura and apply the following slicing settings:
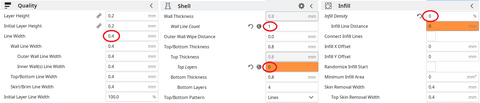
- Print the cube, which will have only one perimeter wall, empty and without a top layer
- When printing is complete, proceed to the measurement of the walls with a gauge

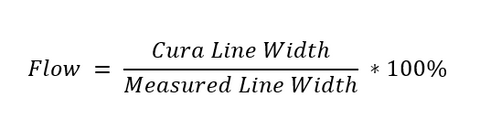
Each wall will have a certain size, which may be less, equal or greater than 0.4mm; from the average of these values, the flow is calculated by applying the following formula:
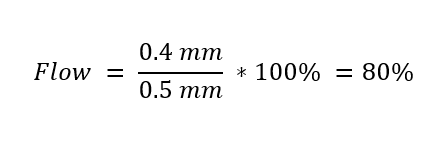
Therefore, assuming that the average of the measured walls is 0.5mm wide despite it should be 0.4mm, the flow to be set turns out to be:
The result obtained must be set in the following Cura menu:

However, you have to pay close attention to the flow set, because even if it is the result of mathematical calculations, it is not always absolutely correct. In fact, the calculated flow can be to include errors due to a bad measurement with the caliber, from a bad leveling of the printing plane, and so on; therefore, it is a good idea to repeat the printing of the test cube several times to check for any variations, and above all it is necessary to verify that the prints do not yet have defects despite the new flow has been set correctly.
This means that, if, for example, mathematical calculations have returned a value of 80% as the correct flow, perhaps the best value for prints is that of an 85% stream. Then once the new flow is set, we proceed by increasing/decreasing the new value based on any aesthetic defects of the prints.
We proceed by applying a visual method:
- Restore Cura to default settings
- Print the cube.stl normally, with infill
- Visually examine the print quality of the cube
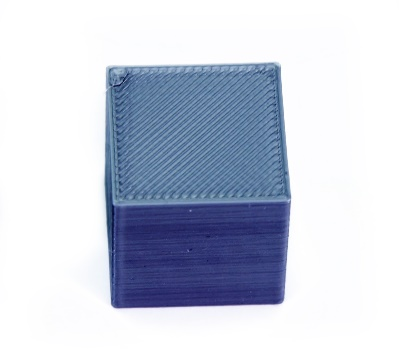
- If the flow has been set correctly, the upper layers will be smooth, shiny and without scarring or filament accumulations near the perimeters, with the layers perfectly joined.
- If there is too much material near the perimeters, slightly decrease the flow value and rerun the test.
If there are visible gaps between the layer lines, slightly increase the flow value and run the test again.
https://www.longer3d.com/collections/3d-printers-1
- Choosing a selection results in a full page refresh.
Products
Support
Policy
Follow Us
Contact Us
!