Tips for engraving glass using laser engraving machine

Tips for engraving glass using laser engraving machine

CONTENTS

· Tip 1: Clean the Glass Surface Before Engraving
· Tip 2: Apply Paint to the Engraved Glass Surface
· Tip 3: Clean the Engraved Glass Product
· Conclusion

INTRODUCTION

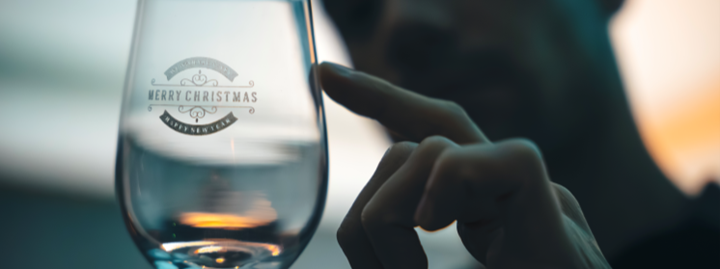
Laser engraving on glass using diode technology is a versatile craft that finds its place in contemporary artistry and manufacturing. In the realm of art creation, this technique empowers artists to intricately etch stunning patterns, text, and textures onto glass surfaces, crafting exquisite sculptures, decorative pieces, and more. Similarly, diode laser engraving is a staple in manufacturing, facilitating the production of ornaments, accessories, and personalized gifts with unparalleled precision and customization options, meeting the demand for top-quality craft products in the market.

Longer's diode laser engraving serves as an efficient solution for personalized engraving services, offering tailored options for souvenirs, trophies, and keepsakes from 2016. In architecture, Longer lends itself to the decoration and customization of glass elements in buildings, infusing spaces with unique artistic flair and bespoke designs. With its attributes including precision, automation, versatility in achieving various effects, and the ability to maintain glass surface smoothness, diode laser engraving emerges as a pivotal technology in glass processing and decoration, unlocking endless creative and manufacturing opportunities for creators and businesses alike.

Tip 1: Clean the Glass Surface Before Engraving

Cleaning the glass surface is a crucial first step before engraving. It not only helps ensure the accuracy and quality of the engraving but also prevents adverse effects during the process. Cleaning removes dirt, grease, and other impurities from the surface, ensuring that the laser can accurately irradiate the glass. Additionally, a clean glass surface aids in the uniform propagation of laser energy, avoiding excessive local heat that may cause glass breakage or uneven engraving effects. Therefore, it is essential to thoroughly clean the glass surface before engraving, using ethanol and a lint-free cloth to wipe it clean.

Tip 2: Apply Paint to the Engraved Glass Surface

Applying paint to the glass surface during engraving is a critical technique. By applying acrylic paint, the refraction of the laser is reduced, allowing the glass to absorb energy more fully and maintain stability during laser engraving. Additionally, spraying black paint or adhering colored paper is also a common method.

Tip 3: Clean the Engraved Glass Product

After waiting for the laser engraving to complete and cool down, use an appropriate solvent or cleaner (such as acetone, alcohol, or paint remover) to spray or apply it to the painted areas. These chemicals can typically dissolve the paint, making it softer and easier to remove. After spraying, gently wipe the painted areas with a soft cloth.

Conclusion

The above tips provide key techniques for achieving laser engraving on glass materials. LONGER is definitely a great helper for making glass decorations. Currently, the RAY5 and Laser B1 series machines have been released. The RAY5 series engraving machine is equipped with a 0.08*0.08mm compressed laser spot, which focuses energy more, perfectly combining simplicity with precision, making it an ideal choice for beginners entering the world of engraving and cutting. Meanwhile, the Laser B1 series machine boasts a engraving speed of up to 36000mm/min, standing out with its powerful functionality, meeting the needs of experienced creators proficient in engraving and cutting techniques. 


Explore Ray5 20W at https://www.longer3d.com/products/ray5-20w-laser-engraver and Laser B1 30W https://www.longer3d.com/products/longer-laser-b1-30w-laser-engraver to learn more and elevate your glass engraving journey with Longer.

RELATED POSTS

Title
Thanks for contacting us. We'll get back to you as soon as possible.