


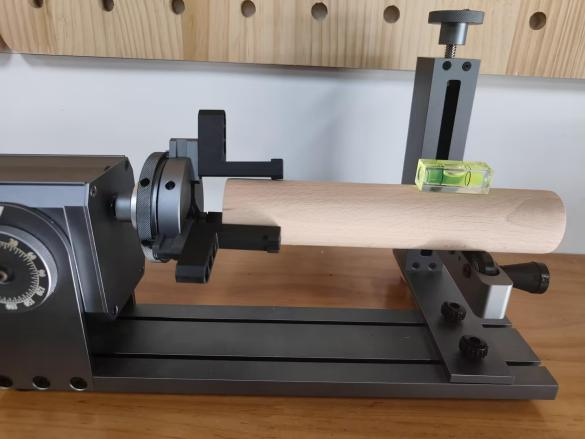
Longer Nano Duo
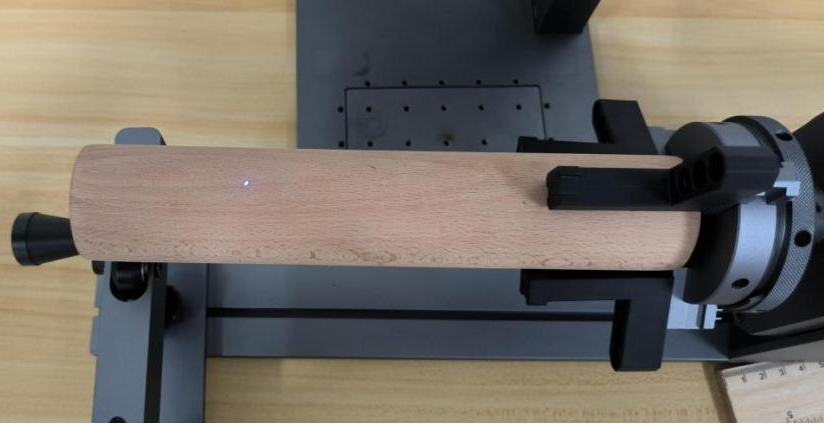
Engrave Like a Master
About Us
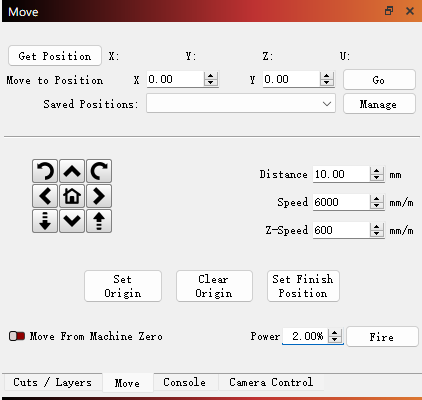
With Longer, Make It better


- La scelta di una selezione comporta un aggiornamento dell'intera pagina.
Products
Support
Policy
Follow Us
Contact Us
!
Engrave Like a Master
With Longer, Make It better
!